Content management
1. How do I create content?
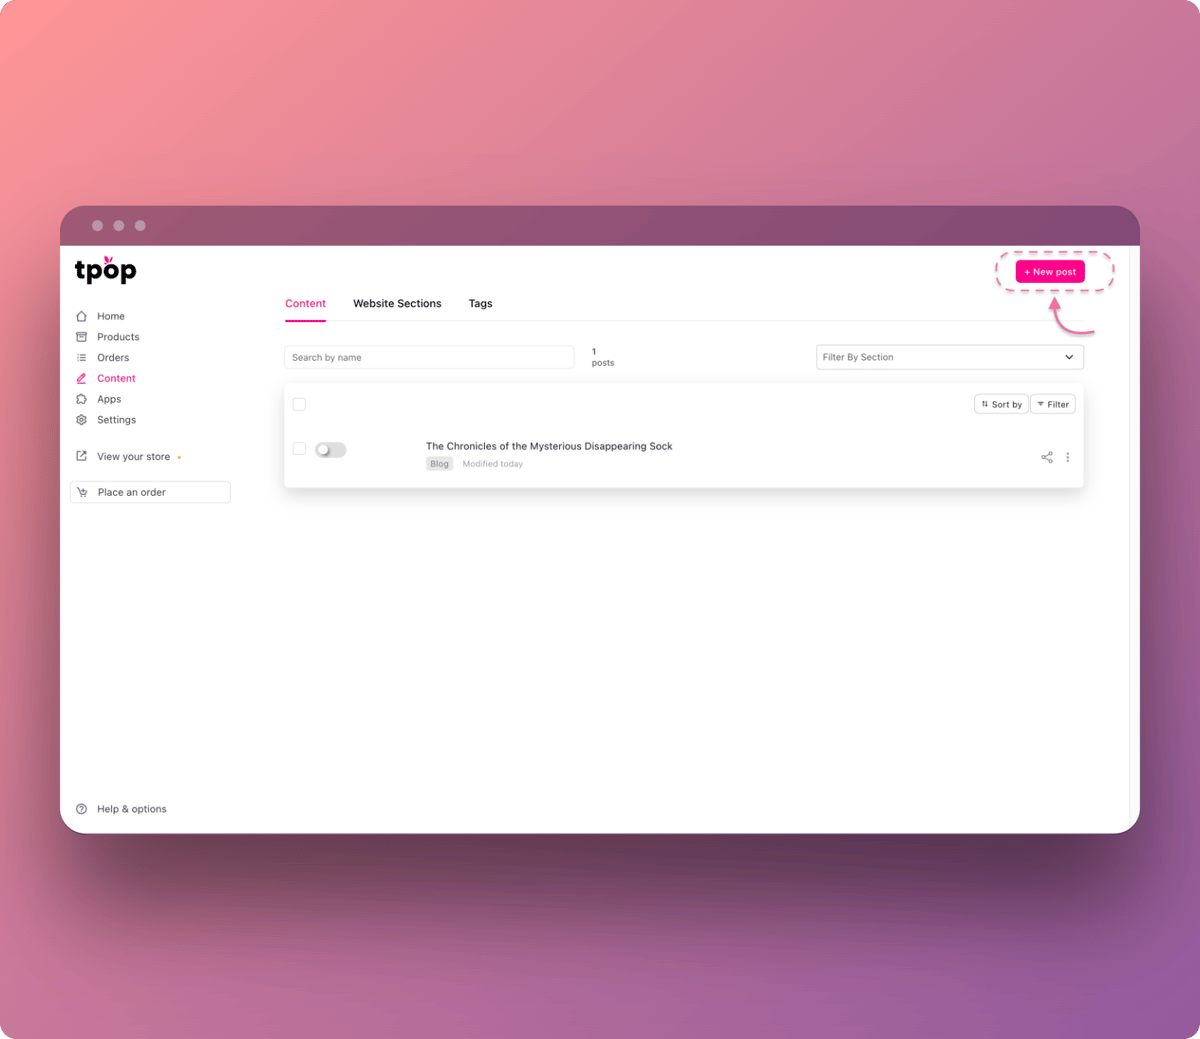
To create posts, go to the "Content" page. This page contains all your content, whatever its type (page, blog, help center... etc.).
You can filter articles using the "Filter by section" button, and modify, delete or link several articles at the same time by selecting them.
To create a new article, simply click on the "+ New article " button:
2. Using the content creation tool
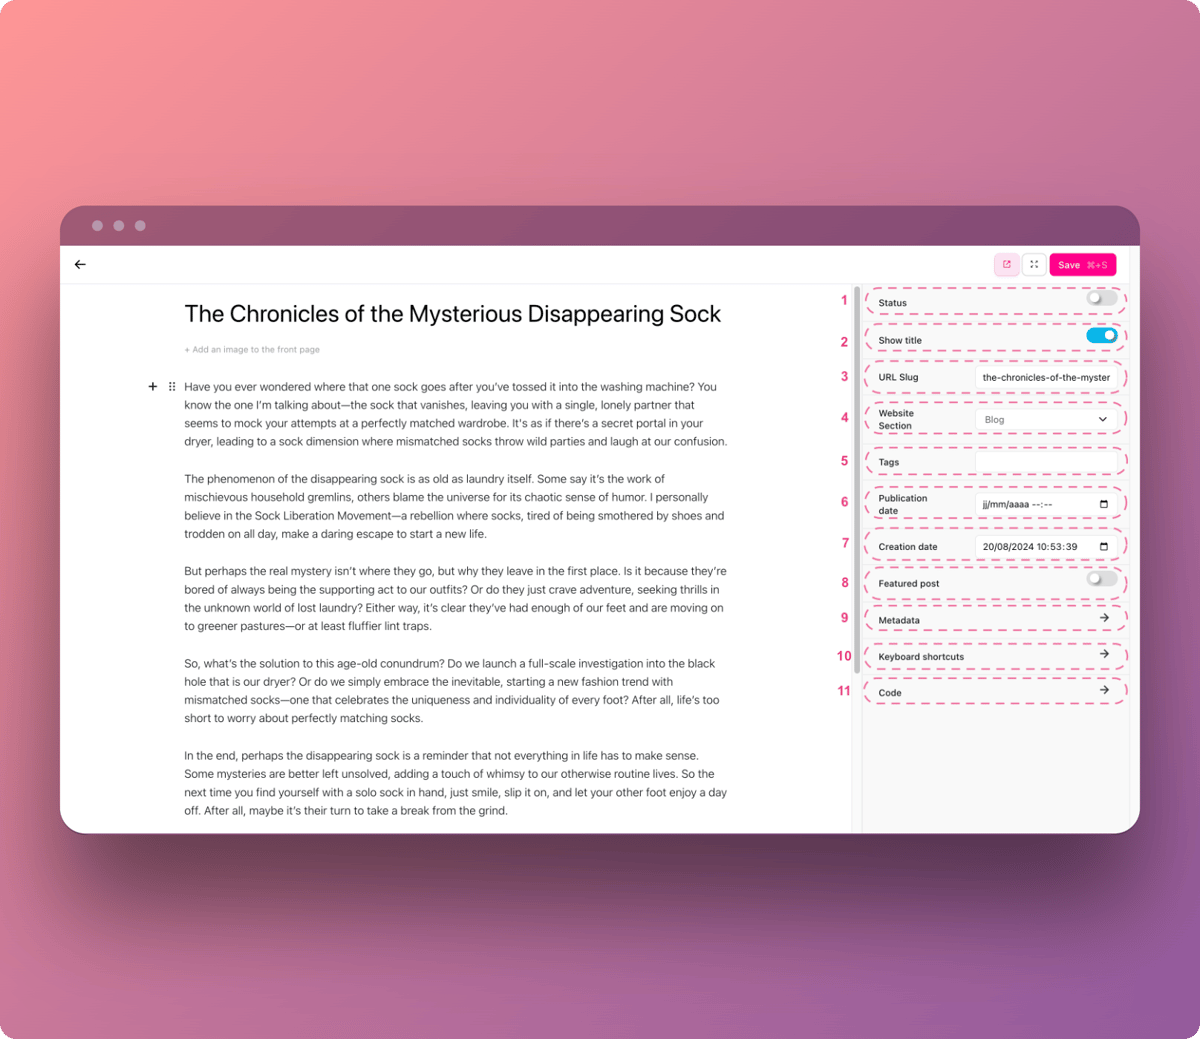
Draft or publish a post.
Show or hide post title.
Modify your post url.
Change the content type of your post (e.g. Blog, Page, Portfolio... etc.).
Add tags to your post.
Change publication date: this allows you to publish your post on a specific date.
Modify the creation date of your post.
Add your post "to the front page" (improves the visibility of your post).
Add your post's meta-data.
Contains all content editor keyboard shortcuts
Add style and javascript to your content.
3. Create blocks
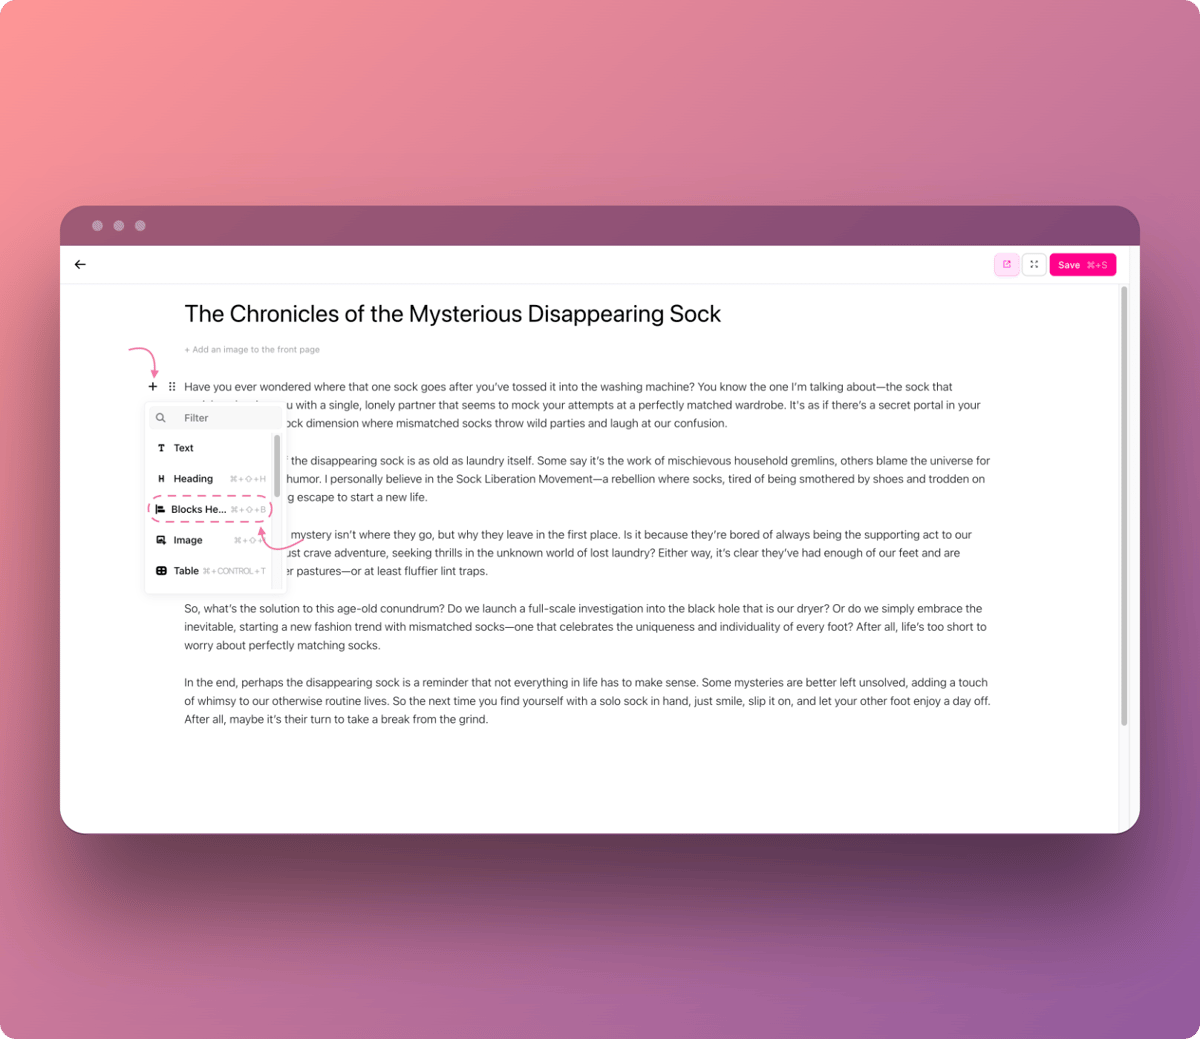
Custom blocks can be created to integrate specific elements into your posts.
These blocks can contain text or images that you wish to highlight. You can then reuse these blocks across different pages, ensuring visual and functional consistency throughout your site. To use them, simply click on the little "+" in the content editor and click on "Blocks Header" like this:
4. Edit block containers
To edit a content block, click on it to bring up the customization sidebar on the right.
The first editing fields are at the very top, and concern the block container.
A little further down, in "Column options", are the fields that concern a block.
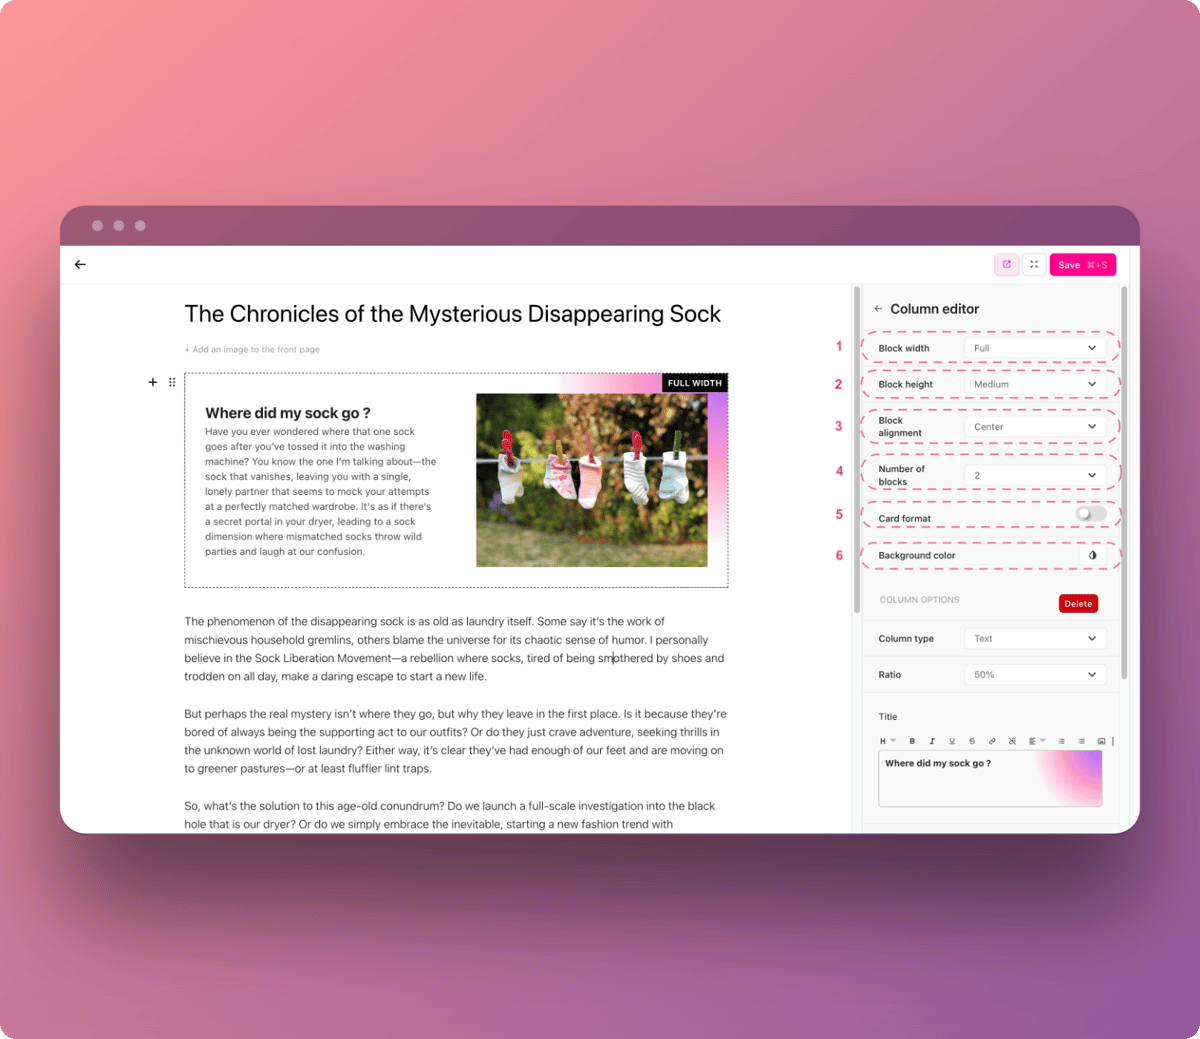
Change the total width of the block container. The size can be "standard", "wide" or "full width".
Change the height of the block container. The size can be "small", "medium" or "large".
Edit the alignment of blocks within the container: "top", "centered" or "bottom".
Choose the number of blocks in your container. You can insert up to 10 in a single container.
Set blocks to "map" format with specific outlines and styling, if this option is enabled.
Change the color background behind the blocks.
5. Edit blocks
When you click on a block, you can customize its content, type and ratio.
For example, you may want to change the content type and put an image instead of text, or you may want the block size to be equivalent to 33% of the container width...
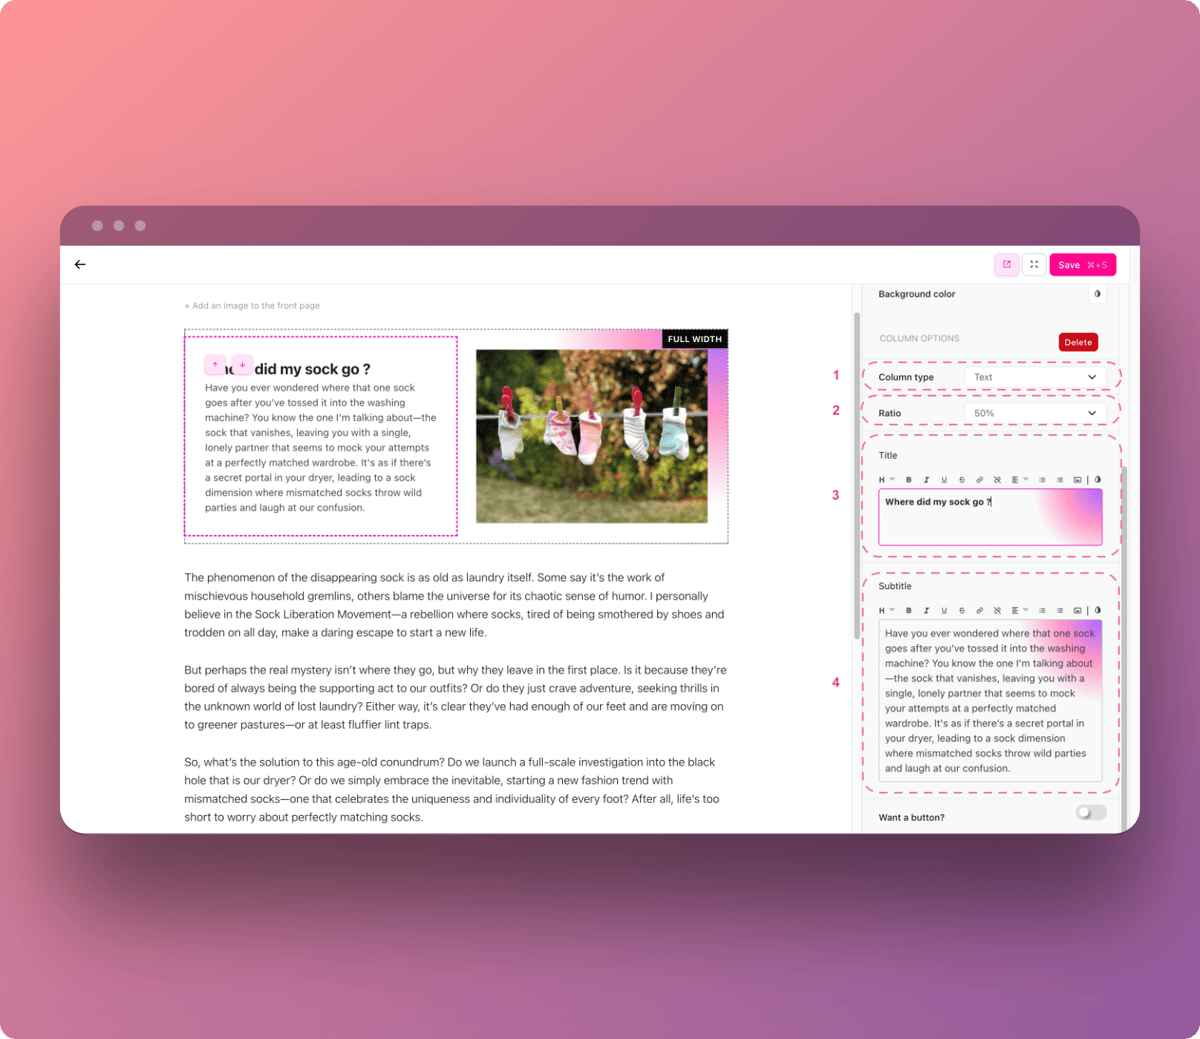
The type of your block. It can be either an image or text.
The ratio of your block. This is calculated from the total width of the container (100%). For example, if you want to place 3 blocks on the same line, you'll need to allocate 33% to the 3 blocks concerned.
The title of your block (if your block is of the "text" type).
The subtitle of your block (if your block is of the "text" type).
If your block is of the "image" type, the customization options are not the same:
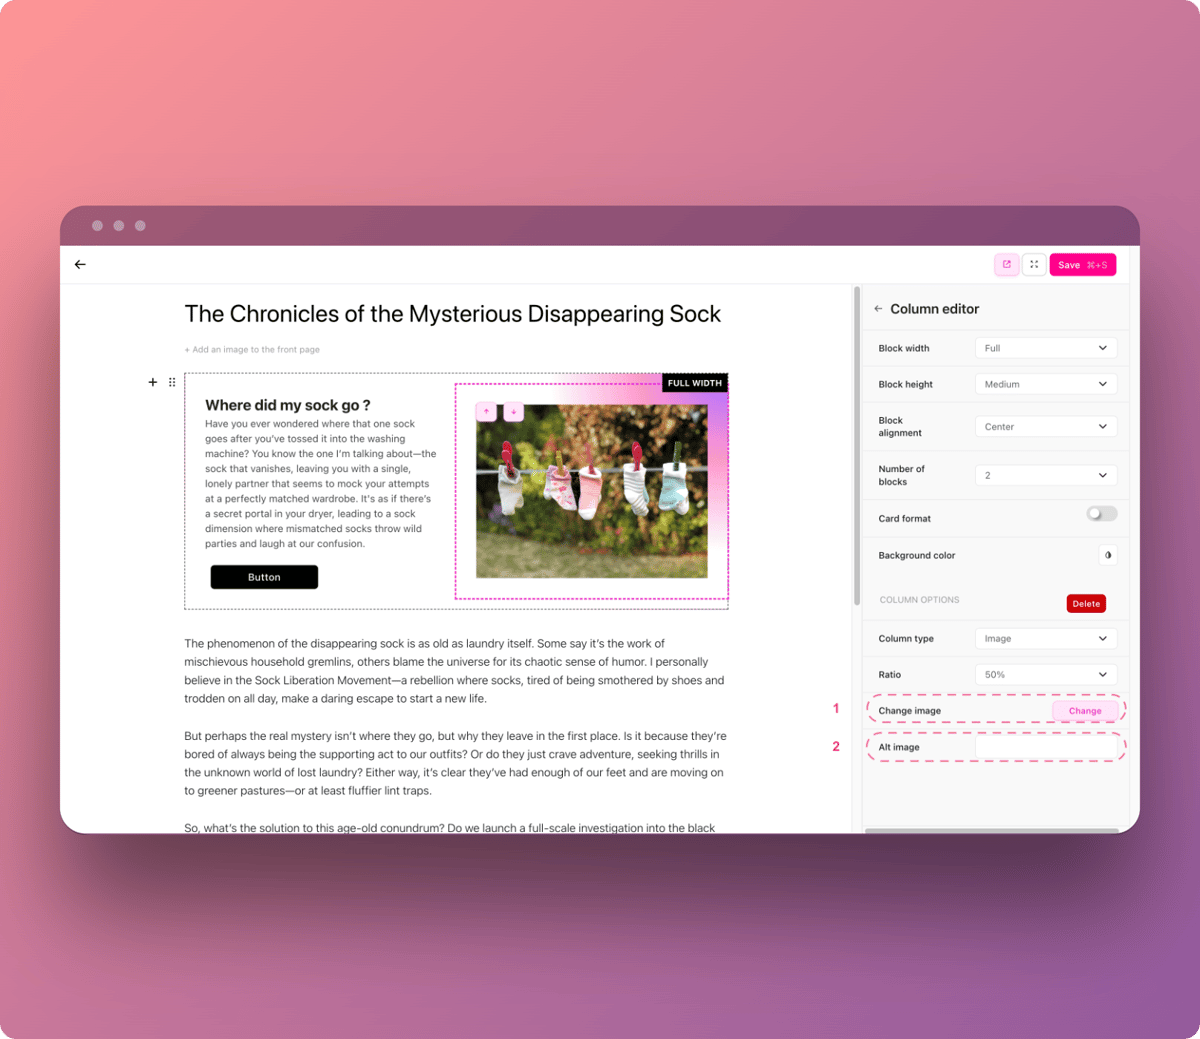
Change the image via your personal gallery or the Unsplash library.
Allows you to assign an alternative text to your image for better referencing.
You can also add a button to your "text" block by activating the option on your sidebar:
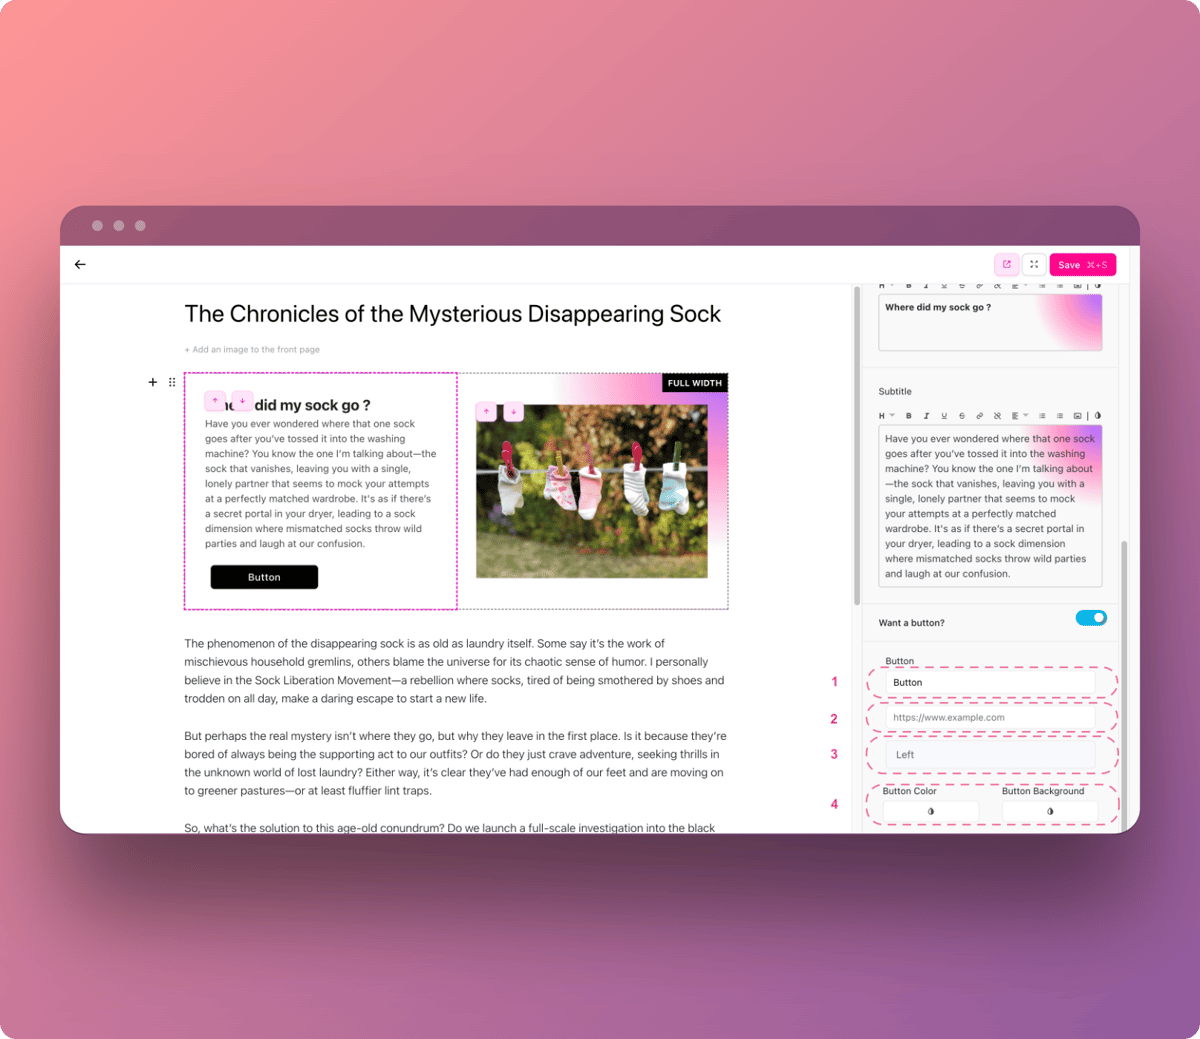
You can name the button text "as you like", but that's a bit long.
The link to which your button leads (non-mandatory).
Align the text of your button. The available options are "left", "centered" and "right".
The color text and color background of your button.
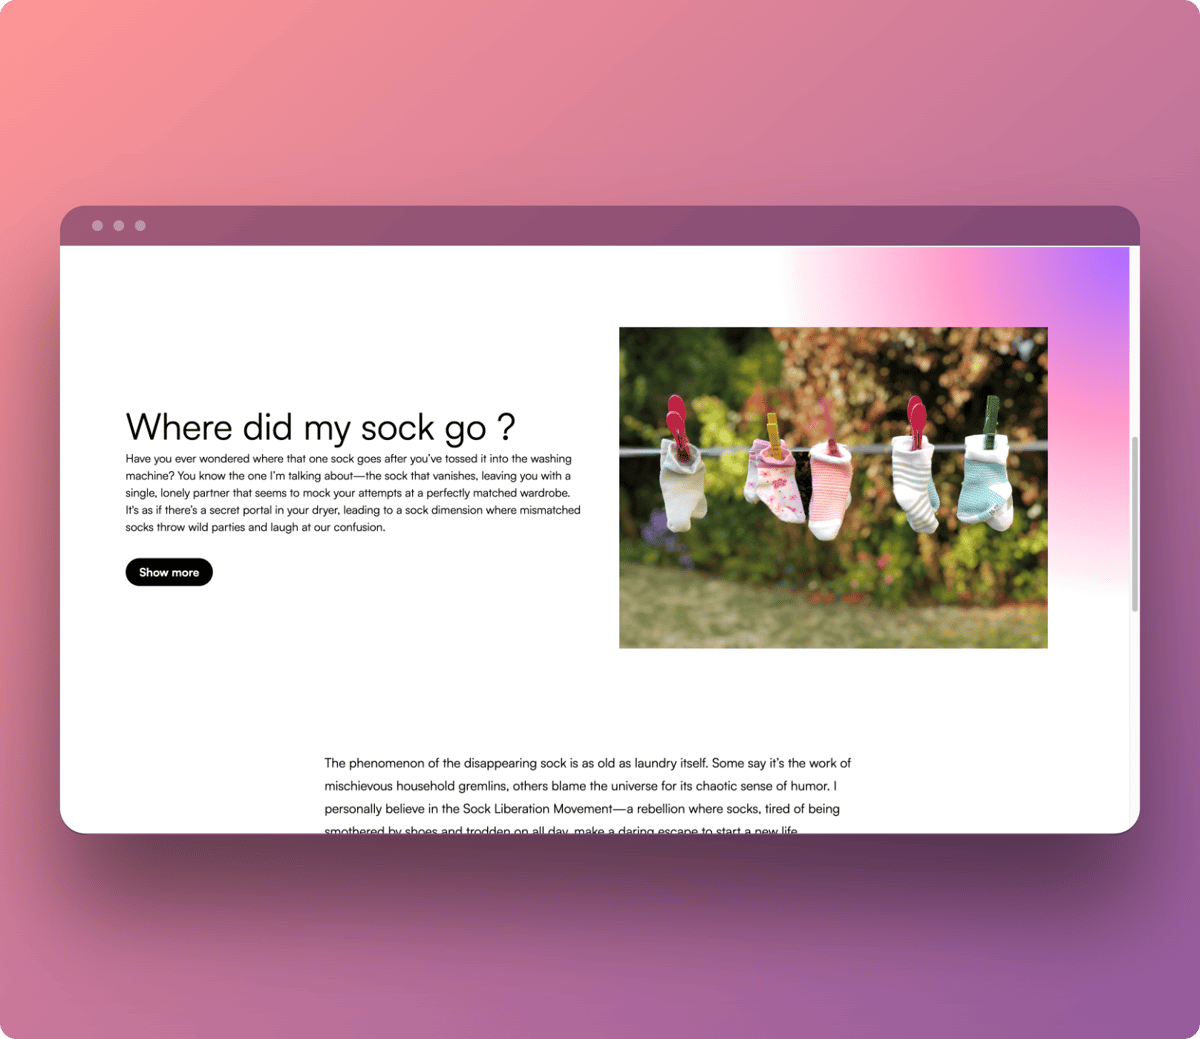
Once all these settings have been applied, you can go to the actual preview of your item by clicking on the preview button in the top right-hand corner of the window.
Updated on: 05/09/2024
Thank you!